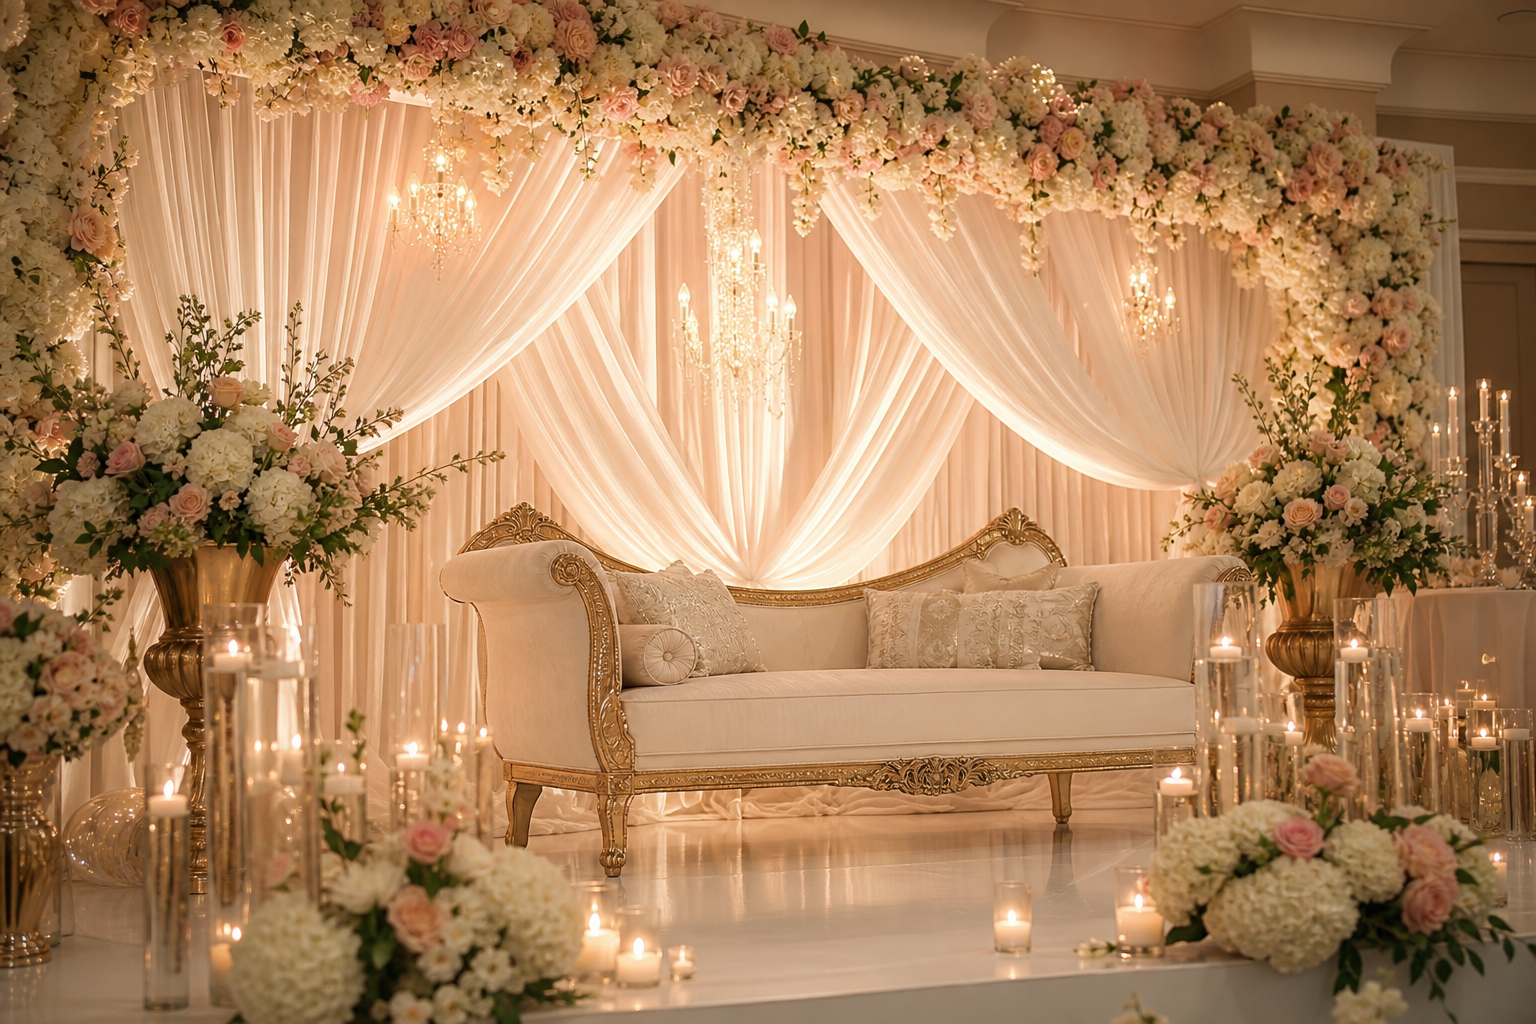
wedding styling in tooting: a practical checklist for palettes, layouts, and flow
If you’re searching for smart, actionable ways to approach wedding styling in Tooting, start with choices that anchor your look and guest experience. Styling is more than centerpieces or a pretty arch—it’s how color, texture, lighting, signage, and layouts work together from the moment guests arrive to the last song. The framework below keeps decisions practical and verifiable, so your celebration feels cohesive without guesswork.
Define your vision and priorities
Before mood boards, lock in the outcomes you care about most. Doing this early prevents scope creep and helps every styling choice serve a purpose.
- Three must-have moments: For example, an impactful aisle, a photogenic head table, and a lively dancefloor mood. Name your own top three and protect them in the budget and timeline.
- Atmosphere in one sentence: “Modern, romantic, and uncluttered” or “Heritage-rich with playful color.” Keep this line visible as you review options.
- Guest comfort rules: Decide on seating feel (plush vs. streamlined), shade or warmth at transitional points, and clear sightlines for key rituals and speeches.
- Non‑negotiables: Cultural elements, accessibility needs, or materials you won’t use. Write them down to avoid last-minute compromises.
Build a cohesive style: palette, materials, and lighting
Cohesion comes from repetition and restraint. Choose fewer elements and repeat them well rather than adding more décor.
- Palette: Pick 1 base neutral, 1 primary hue, and 1 accent. Add a metallic only if it supports your palette (e.g., warm gold with terracotta; brushed nickel with cool blues). Use the accent sparingly for impact.
- Materials: Pair soft with structured. Examples include velvet runners with glass chargers, linen drape with timber plinths, or matte ceramic bud vases against polished cutlery. Aim for two to three repeating textures.
- Floral approach: Decide between lush (full arrangements), restrained (minimalist clusters), or textural (foliage-forward). Keep vessel shapes consistent across the room.
- Lighting layers: Combine ambient (overhead), task (table candlelight), and accent (pin spots on features). Dim to a cocktail setting after dinner to shift the mood without moving furniture.
- Signage and print: Unify fonts, paper texture, and color blocking across welcome board, seating plan, menus, and bar list. Add simple wayfinding arrows wherever a guest might hesitate.
Plan the guest journey and layouts
Map the day as guests experience it. Every transition is a styling opportunity that also solves a practical problem.
- Arrival and welcome
- Wayfinding: A welcome sign plus one mid-path reassurance sign prevents bottlenecks.
- First photo moment: Position a tasteful backdrop off to the side so arrivals don’t block the entrance.
- Ceremony zone
- Focal point: Make your altar or mandap visually heavier than everything around it so attention falls naturally where it should.
- Seating geometry: Straight rows maximize capacity; chevron creates intimacy and better sightlines without extra décor.
- Transition to reception
- Hold area cues: Cocktail tables with a repeated bud‑vase motif keep the look coherent while spaces reset.
- Seating plan logistics: Alphabetize by surname and split across two boards for faster scanning.
- Dining and speeches
- Stage and head table: Light from the sides, not just front, so photos avoid harsh shadows.
- Tablescapes: Keep centerpieces below 30 cm or above 60 cm to preserve eye contact across the table.
- Dessert and dance
- Cake or mithai display: Give it its own surface and backdrop, then reuse ceremony florals to tie styles together.
- Dancefloor: Frame with two tall features (florals, lighting towers, or fabric drops) to signal the party focus once music starts.
Timelines and checkpoints you can actually use
Clear checkpoints keep decisions moving and prevent rushed purchases close to the date. Adjust the pacing to your lead time, but keep the sequence.
- 6–8 months: Lock theme, palette, and key materials. Book core rentals (chairs, linens, large décor) before choices narrow.
- 4–5 months: Confirm ceremony focal design and reception layout. Reserve lighting and technical support for speeches and first dance.
- 8–10 weeks: Finalize florals, signage content, and print design. Approve proofs with exact guest names and spellings.
- 4–6 weeks: Walk through the venue plan with a scaled floor map. Check power access for lighting, DJ, and catering stations.
- 2 weeks: Freeze the styling inventory list by box. Label containers by zone: ceremony, cocktail, reception tables, cake, gift table, VIP.
- Event week: Reconfirm load-in path, lift access if any, and a wet‑weather safeguard for outdoor items.
Essentials for South Asian ceremonies
If your celebration includes rituals such as a nikkah, sangeet, or Gujarati wedding moments, build styling around clarity, respect for tradition, and comfortable viewing.
- Clear focal architecture: For elements like a mandap or nikkah backdrop, confirm dimensions, stability, and sightlines from the back rows.
- Seating for elders and key family: Add a front-row plan with comfortable chairs and unobstructed access routes.
- Ritual items: Allocate a dedicated, well-lit surface with protective coverings for any ceremonial objects.
- Color continuity: If vibrant hues lead the sangeet, echo one accent tone subtly in the wedding day palette through ribbons, napkin ties, or candles.
- Sound and speech visibility: Ensure microphone stands and speakers don’t intrude on ceremonial photos—mark their footprint on your layout.
Budgeting and vendor coordination tips
Stretch impact by concentrating spend where eyes linger longest and by reusing pieces across the day.
- Prioritize high-visibility scenes: Ceremony focal, head table, and dancefloor edge typically earn the most photos and guest attention.
- Repurpose strategy: Move aisle florals to the cake or entrance after the ceremony. Design vessels and mechanics to travel well.
- Mix real and lasting botanicals: Combine fresh focal blooms with textural foliage or dried elements in peripheral areas to balance cost and fullness.
- Rental consistency: Choose one chair style across spaces if possible; it simplifies logistics and looks cohesive in photos.
- One point of truth: Keep a living inventory sheet with item, quantity, placement zone, vendor source, and pack-down notes.
Day-of styling: setup and pack‑down checklist
On the day, clarity and labeling prevent delays. A light-touch run of show that focuses only on styling tasks keeps everyone aligned.
- Label boxes by zone and sequence (e.g., “1/3 Ceremony—Aisle,” “2/3 Ceremony—Focal,” “3/3 Ceremony—Welcome”).
- Place a printed mini map at each zone with one photo reference to speed decisions when time is tight.
- Light test: Check dimmers and candle placement at both daylight and evening levels. Stagger candle heights to avoid straight sightline glare.
- Tabletop final pass: Align charger edges, rotate menu headings to face chairs, and tuck napkin tips to one orientation for visual rhythm.
- Safety sweep: Tape cable runs, weight tall pieces, and double-check clear wheelchair and stroller routes.
- Pack‑down plan: Assign a “clean hands” person for delicate items, wrap fragile pieces first, and photograph each box before sealing to record contents.
Pitfalls to avoid and quick wins
A few common traps can quietly undermine a beautifully planned look. Here’s how to sidestep them and score easy improvements.
- Too many fonts: Cap it at two families (one display, one body). Consistency looks premium even with simple materials.
- Short candles for long nights: Choose long‑burning options and test one at home to confirm duration.
- Centerpiece height drift: Measure and note target heights; bring a small tape measure to keep everything uniform.
- Backdrops with no depth: Add side returns, textured fabric, or asymmetric florals to avoid a flat photo look.
- Forgotten thresholds: Style doorways and corridor corners minimally; small markers keep the look continuous between main spaces.
- No Plan B for weather or heat: Even if mostly indoors, prepare quick swaps for outdoor photos or welcome moments.
- Unassigned teardown: Confirm who owns each item after the event to prevent losses or venue overtime.