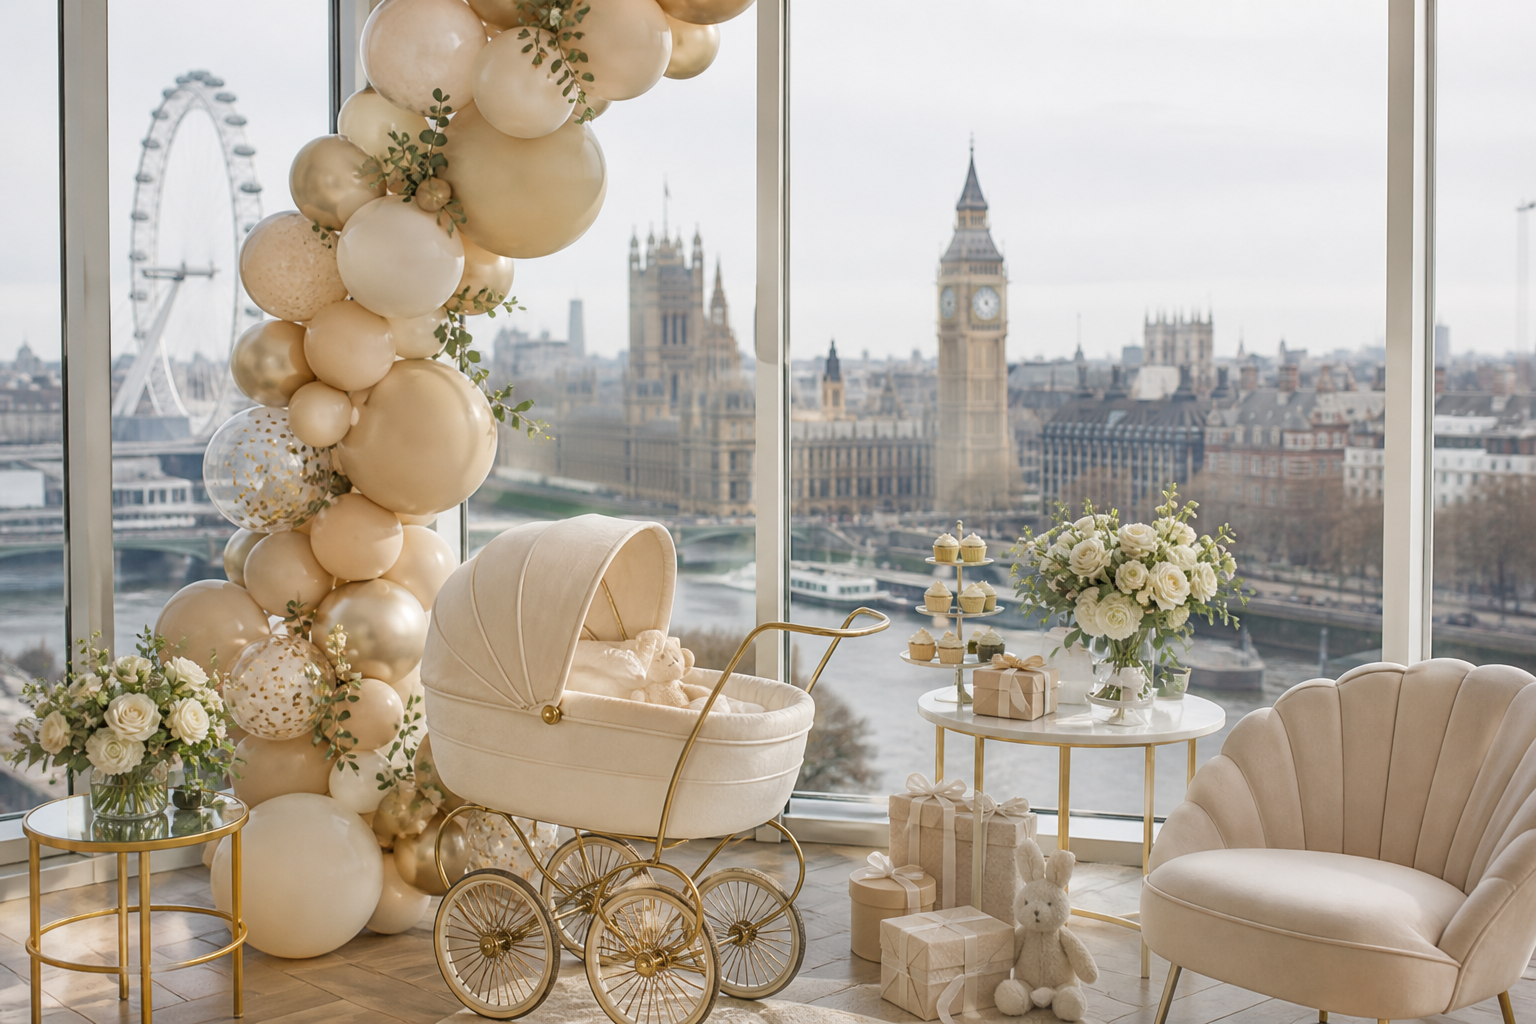
Baby shower planning in London: practical checklists, timelines, and ideas for hosts
Whether you’re organizing a cozy afternoon for close family or a larger celebration with friends, baby shower planning in London is much easier with a clear framework. This guide gives you practical timelines, checklists, and host-friendly ideas you can adapt to any style, theme, and budget. You’ll find steps for defining the vision, shortlists for venues and layouts, planning food and activities, and a simple run sheet so the day flows beautifully.
Set your vision and hosting goals
Start with the outcomes you want for the parent(s)-to-be and guests. A few aligned choices at the beginning make every later decision more straightforward.
- Occasion shape: brunch, afternoon tea, lunch, early evening gathering, or open-house drop-in.
- Ambience: serene and minimalist, bright and playful, heritage-inspired, or modern and chic.
- Theme prompts: seasonal palette, favorite children’s book, timeless neutrals, or a subtle color duo.
- Formality: casual mingle with light bites, seated meal, or canapé-and-dessert reception.
- Focus: conversation-forward, interactive games, craft keepsakes, or photo moments.
Capture your choices in a one-page brief: event date window, guest estimate, location area, must-have elements, dietary notes, accessibility needs, and your top three priorities (for example: comfort, photographs, or ease of setup/cleanup).
A realistic timeline and master checklist
Use this flexible plan and compress or expand it as needed. The goal is to book the anchors early, then layer in details.
- 6–8 weeks out: align date/time with the parent(s)-to-be; shortlist venues or home-hosting options; outline budget; sketch theme and color direction.
- 5–6 weeks out: confirm venue; decide catering approach (in-house, delivery, or self-cater); draft guest list; plan invitation design and method (print, email, or messaging).
- 4–5 weeks out: send invitations with RSVP method and dietary/allergy question; plan activity flow; identify decor pieces; list hire items (tables, glassware, linens) if needed.
- 3–4 weeks out: book suppliers (catering, cake, balloons/flowers, photography, music); outline run sheet; plan seating or lounge zones; confirm any audio needs for speeches.
- 2 weeks out: finalize menu; order cake or dessert; prepare games/keepsakes; confirm RSVPs; assign helpers for setup, hosting, and tidy-up.
- 1 week out: create shopping list; print signage/place cards; check serving equipment; prepare favor bags; reconfirm with suppliers.
- Event week: shop non-perishables; pre-pack decor by zone; share run sheet and contacts with helpers; prep music playlist; arrange delivery/collection windows.
- Day before: receive or collect hired items; set out non-perishables; pre-stage decor; chill drinks (as appropriate).
- Event day: follow the run sheet; keep the parent(s)-to-be comfortable; capture group photos; enjoy the celebration.
Guest list, invitations, and RSVP etiquette
Shape the guest list in consultation with the parent(s)-to-be. Keep inclusivity and comfort central, and be clear about any +1s or children attending.
- Collect essentials: names, contact details, and accessibility or dietary notes.
- Invitation content: date, start/end time, location, RSVP method and deadline, dress suggestions (if any), and gentle guidance on gifts or alternatives.
- Communication style: consistent theme across invitation, reminder, and thank-you notes makes the experience feel considered.
- Reminders: a friendly nudge close to the RSVP date improves headcounts and menu planning.
Choosing a venue and planning a guest-friendly layout
Pick a setting that supports your format, guest comfort, and setup time. The right layout is as important as the address.
- Fit for purpose: space for mingling plus seated rest areas; a clear spot for gifts and a photo backdrop; serving surfaces for food and drinks.
- Access and comfort: step-free entry where needed; nearby facilities; a quiet nook for breaks.
- Transport and arrival: straightforward directions for guests; clear information on arrival point and any building access notes.
- Sound and atmosphere: consider background music volume and speech audibility.
- Setup logistics: check what you can bring in (decor, food, games materials) and the timing for deliveries and collections.
For home-hosted showers, create zones: welcome table, lounge seating, food buffet, drinks station, activity area, and a compact photo corner. Use simple signage so guests can self-serve and settle in quickly.
Food and drink planning that feels effortless
Keep the menu aligned to timing and flow. Finger foods and small-plate options work well for conversation-friendly gatherings.
- Menu styles: afternoon tea tiers; grazing boards; light brunch; canapés and mini-desserts; a simple seated lunch.
- Dietary range: balance vegetarian, vegan, gluten-free, nut-free, and other needs; label clearly.
- Drinks: a welcome mocktail, infused waters, hot drinks, and a compact selection of chilled options; ensure continuous hydration for the parent(s)-to-be.
- Service plan: decide between staffed service, timed platters, or self-serve stations; match to guest count and space.
- Centerpiece dessert: a statement cake or a dessert table; pre-arrange cake-cutting time and serving ware.
Prepare a back-up serving plan for late arrivals and keep a small reserve of plates, napkins, and utensils. A tidy, labeled drinks station reduces repeated host trips and keeps the event calm.
Decor and ambience with smart, reusable touches
Thoughtful styling can be simple and effective. Choose a narrow palette and repeat it across a few high-impact points.
- Focal points: welcome sign, photo backdrop, dessert table, and a small florals cluster where the parent(s)-to-be sits.
- Textures and layers: linens, runners, ribbons, candles (where permitted), and a few sculptural elements.
- Personalization: a keepsake banner, custom place cards, or framed wishes; prioritize items that store flat or gift on.
- Floral approach: a few medium arrangements or multiple petites; consider bud vases for easy distribution after the party.
- Lighting: warm lamps or string lights where appropriate; avoid glare in the photo area.
Bundle decor by zone in labeled containers for fast setup. Pre-measure backdrop widths and table lengths so you bring only what you need.
Activities, keepsakes, and light-touch entertainment
Mix one interactive element, one creative keepsake, and one gentle icebreaker. Keep activities optional so guests can mingle freely.
- Interactive: baby predictions cards; wishes-for-baby notes; name suggestions jar.
- Keepsake craft: decorate alphabet cards; assemble a memory book with Polaroids and messages.
- Photo moments: a simple backdrop with a low-glare finish; a small prop set; a shared album link sent after the event.
- Gentle games: emoji nursery rhyme quiz; baby item price match; baby bingo during gifts.
Prepare short instructions for each activity on a card or mini sign so guests can jump in without announcements.
On-the-day run sheet
A light structure keeps the celebration flowing while leaving room for natural moments. Adjust times to suit your format.
- +90 minutes: venue access; backdrop and focal areas first; table linens; signage; music test.
- +45 minutes: food stations staged; drinks on ice or set; place cards or favor bags placed.
- Guest arrival window: greeting at the door; invite guests to sign the keepsake or predictions card.
- Welcome words: a brief hello from the host; share the flow (food first, then a fun activity, then cake).
- Activity: invite guests to participate casually; photograph small groups.
- Cake moment: gather for a few photos; then slice and serve alongside tea/coffee.
- Gifts (optional): if opening on the day, nominate a scribe for who-gave-what and a helper for tidy packaging.
- Farewell: offer favors near the exit; ensure a calm goodbye for the parent(s)-to-be.
- Wrap-down: pack decor by zone; separate hire items; double-check collection times.
Budgeting and working with suppliers
Prioritize spend where it matters most to your brief. A simple, balanced approach avoids last-minute strain.
- Allocate first: venue or hosting setup, food and drinks, a focal decor point, and photography.
- Stretch by simplifying: fewer but larger-impact decor items; multi-use pieces (for example, bud vases that become favors).
- Confirm scope: what’s included (delivery, setup, breakdown), timing windows, and any access notes.
- Consolidate: where possible, align deliveries and pickups to reduce door management.
- Contingencies: hold a small reserve for extra seating, last-minute dietary additions, or printing re-runs.
When booking services, share your one-page brief and reference photos so everyone is aligned. Keep a single contact sheet with names, phone numbers, and arrival windows for quick coordination on the day.
Inclusive hosting and considerate details
A great baby shower centers the comfort of the parent(s)-to-be and ensures guests feel welcome and relaxed.
- Seating: provide a supportive chair for the guest of honor and a nearby side table for water and snacks.
- Breaks: include quiet space for rest or a quick step-away.
- Facilities: share clear directions to restrooms and any step-free routes.
- Communication: gentle signage for activities, gift area, and photo backdrop reduces repeated questions.
- Timing: choose a duration that feels comfortable; build in natural pauses.
If you have questions about health or pregnancy-specific considerations, seek guidance from a qualified healthcare professional. Event checklists are not medical advice.
Post-event wrap and keepsakes
Close the loop with gratitude and a few thoughtful touches that extend the joy beyond the day itself.
- Thank-you notes: send within a short window while memories are fresh; include a favorite photo when possible.
- Photo sharing: create a shared album link; ask guests to add their best shots.
- Keepsake curation: bind predictions and wishes into a small booklet; label any special mementos.
- Returns: schedule hire item returns promptly; keep receipts and inventories together.
FAQ: baby shower planning in London
When should I host a baby shower?
Choose a time that the parent(s)-to-be are comfortable with and that aligns with their preferences and schedule. Many hosts prefer a window that allows for an enjoyable gathering without rushing decisions. If you have health-related timing questions, consult a qualified healthcare professional.
How long should a baby shower last?
Two to three hours typically suits mingling, a light activity, and a cake moment without feeling rushed. Shorter open-house formats also work well if you want a steady flow of guests over time.
Do I need games, or can it just be a get-together?
Games are optional. Many hosts choose one simple interactive element (predictions or wishes) and focus on conversation, photos, and a shared dessert. Let the personality of the parent(s)-to-be guide the approach.
What should I include in the invitation?
Share the date, start/end time, location, RSVP method and deadline, any dress or theme notes, and a gentle line about gifts or alternatives if relevant. Always ask about dietary needs so you can plan an inclusive menu.
How can I keep setup simple if I’m hosting at home?
Pre-pack decor by zone, use a short list of high-impact items (backdrop, dessert table, florals), label stations, and recruit one or two helpers with defined roles. A clear run sheet reduces on-the-day decisions.